
how to apply vinyl stickers to glass step by step
How to paste a vinyl sticker on glass
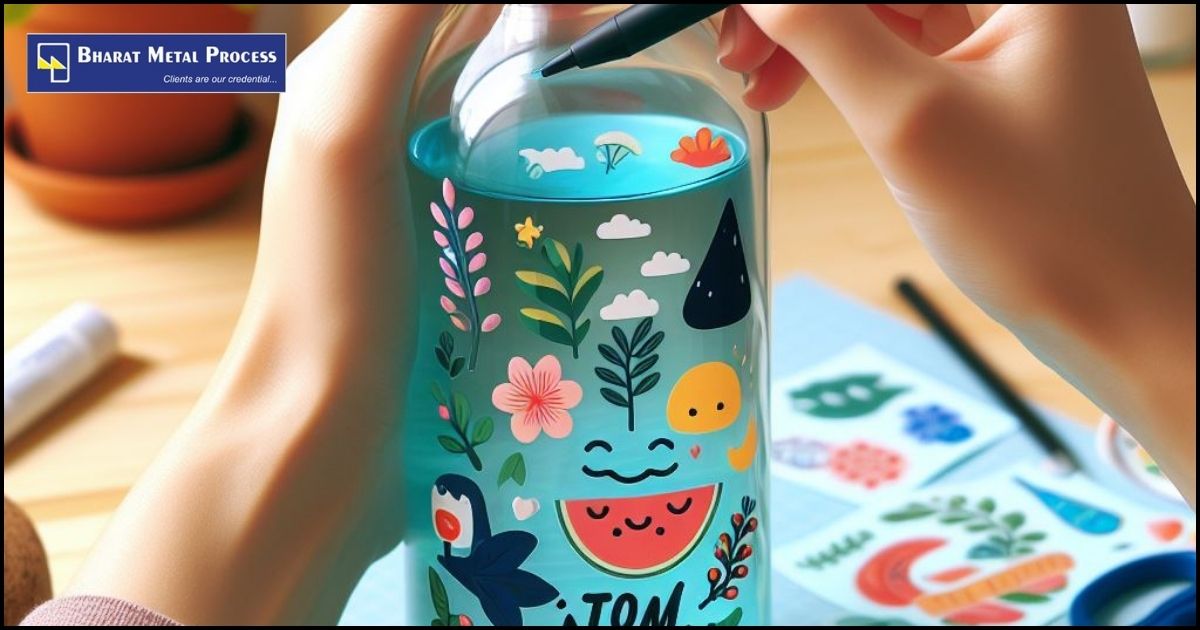
In manufacturing and industrial sectors, vinyl sticker and labels are used for numerous purposes such as branding and identifying products and packaging industries. The many surfaces that can be decorated with vinyl stickers, and glass differ because of their smooth and elegant look. while glass sticker application requires some skill and technique. lets look step by step process of how to apply vinyl stickers on glass srface.
Vinyl decals have become a common trend since it is very easy to stick them on different surfaces like glass, wood, metal, or plastic. Vinyl decals with their strong adhesive feature ensure the freedom to change the visual appearance of your home, thus delivering you the desired look from vintage to modern. Different from paint, these decals are removable with no permanent mark left. The adhesion procedure begins by taking off the protective layer at the back of the adhesive that is covered by the sticker which is held in place by a backing sheet at the back.
process of applying vinyl stickers
Step 1: Get the materials
To get started, ensure you have the following materials: Of course, at the minimum, they have money.
- Vinyl stickers/labels of your choice
- A clean cloth is needed.
- use rubbing alcohol or glass cleaner
- Masking tape
- A ruler or a measuring tape
- A ruler or any other flat flexible tool
Step 2: Wipe the glass surface.
It is vital to make sure that the glass surface is completely clean before you apply the vinyl sticker to get proper adhesion. Apply a clean cloth moistened with rubbing alcohol or glass cleaner and wipe the glass surface removing any dust, dirt or grease. Make sure that the surface is entirely dry before moving on to the next step
Step 3: paste the vinyl sticker
Match the vinyl decal with the indicated placement on the glass surface. fix the top edge of the sticker with a small piece of masking tape so that the part is hinged. The hinge enables readjusting at any time if necessary.
Step 4: Even the sticker out.
Start from the top edge and use a flat ruler or credit card take the time to firmly and slowly press the vinyl sticker onto the glass. Start from the center and work towards the edges making sure there are no bubbles trapped beneath the sticker. The tool or the credit card will remove of creases or wrinkles for a flat professional result.
Step 5: Take out the masking tape
Once the vinyl sticker is securely in place, remove carefully the masking tape hinge by pulling it back to an applied sticker. Find some time to steer clear of any lifting of the attachments accidentally.
Step 6: Final touch-ups
Check the applied vinyl sticker for any residual air bubbles or defects. If needed, press out the trapped air bubbles using the flat tool or credit card. dont you damage the sticker or glass surface by being rough, mind being gentle.
Conclusion:
If you follow these step-by-step guidelines, then you can easily get to know how to apply vinyl stickers to glass surfaces, be it your manufacturing company needs or small personal projects. Applying a completely vinyl sticker onto your glass objects will add an aesthetic and functional touch to them. And so, by all means, give it a go with your favorite stickers and labels, and show off your creativity!
Connect with us
Contact Usbharat Metal Process
phone: 04424762531
Location: No: 40, Anna Salai, Dhiraviam Nagar, Porur, Chennai, Tamil Nadu- 600116, India